

Table of Contents
- How to Install Outdoor Pickleball Court: Planning Your Project
- Outdoor Pickleball Court Dimensions and Layout
- Pickleball Court Site Preparation and Ground Leveling
- Pickleball Court Surface Options and Installation
- Installing Your Net System and Court Equipment
- Pickleball Court Lighting for Year-Round Play
- Final Steps and Maintenance Planning
- Frequently Asked Questions
Last Updated: October 16, 2026
How to Install Outdoor Pickleball Court: Planning Your Project
Installing an outdoor pickleball court transforms your backyard or facility into a competitive play space.
At Sports Vista USA, we help customers build complete court systems for residential and commercial use. The right planning and equipment choices determine whether your court lasts for years or requires constant repairs.
This guide walks you through each step, from choosing your court type to marking lines and installing nets, and shows you how to avoid common mistakes.
Determine Your Court Type and Permanent vs. Portable Setup
Your first decision is whether you want a permanent in-ground system or a portable setup. This choice affects your budget, the site work required, and how flexible your court can be.

Permanent courts stay in one location, with posts installed into concrete sleeves buried in the ground.
Portable courts use freestanding net systems that sit on the finished surface without ground installation.
For permanent installations, the USA Pickleball rulebook specifies regulation net height and court dimensions. This matters if you plan to host competitive play.
Outdoor Pickleball Court Dimensions and Layout
A regulation outdoor pickleball court measures 20 feet wide by 44 feet long, whether you're building in your backyard near Carbondale or at a recreation facility.
Beyond the court itself, players need room to move without hitting fences or obstacles.
Orientation matters for outdoor courts. A north-south layout reduces glare so players don't face direct sunlight during morning or afternoon play. East-west works if you can't rotate the court, but expect sun challenges during peak hours.
Measuring and Marking Your Court Boundaries
Start with accurate measurements. Use a measuring tape, chalk line, and straightedge. Mark the four corners of your 20-by-44-foot court using stakes or spray paint.
Steps to mark your court:
- Measure and mark the four corner points with stakes
- Verify all corners are square using the 3-4-5 triangle method (measure 3 feet along one side, 4 feet along the adjacent side; the diagonal should measure 5 feet)
- Snap chalk lines between corners to create the outer boundary
- Mark the center line dividing the court in half lengthwise
- Mark the non-volley zone (kitchen) 7 feet from the net on each side
- Mark the service boxes in each half of the court
Double-check measurements before surface prep, small errors become bigger problems once you pour concrete or lay asphalt.
Pickleball Court Site Preparation and Ground Leveling
Your site must be level, stable, and well-drained. Uneven ground causes water pooling, cracks, and unsafe conditions. This is also where local Carbondale conditions, heavy spring rainfall, freeze-thaw cycles, and clay-heavy soils in parts of southern Illinois, most directly affect how you build.
Excavation and Base Layer Specifications
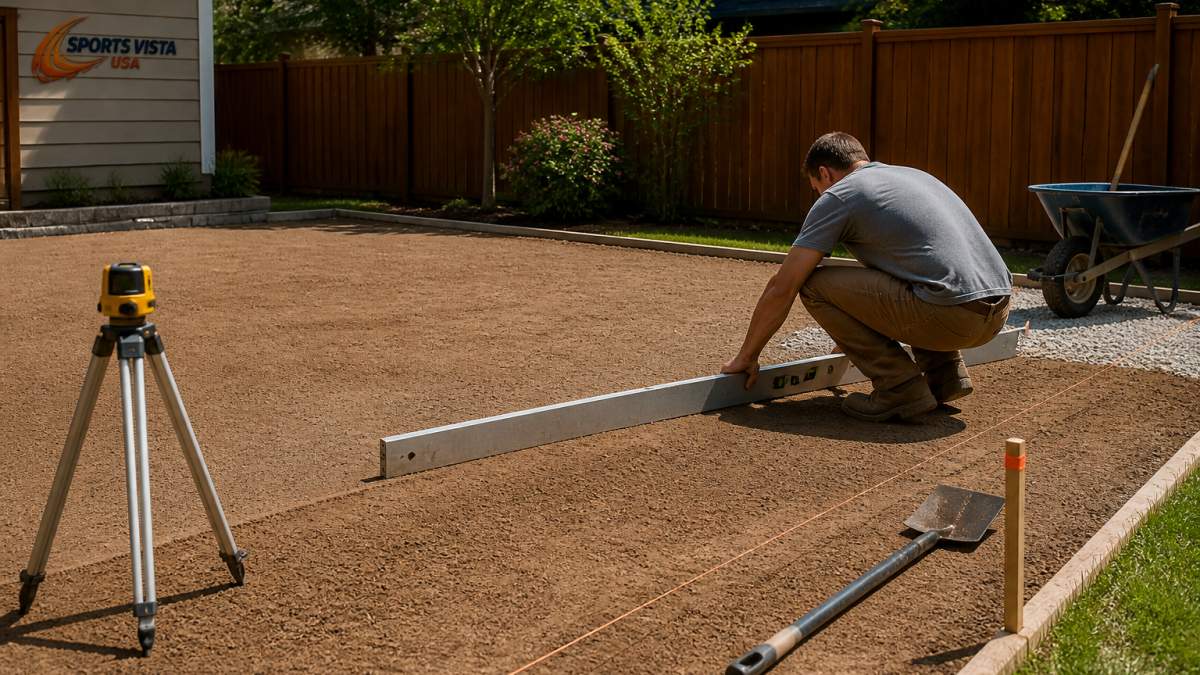
A pickleball court is only as good as the base beneath it. For concrete or asphalt, remove topsoil and organic material to reach stable subgrade, then build up in compacted lifts. A common pattern is:
- Strip topsoil and vegetation to a depth that reaches firm, undisturbed soil.
- Grade the subgrade to the final slope you want (typically 1% away from the court center or toward a drainage outlet).
- Place a compacted aggregate base, often 4 to 6 inches of crushed stone, in lifts of about 2 to 3 inches.
- Compact each lift with a plate compactor or vibratory roller before adding the next.
- Check grade and slope after each lift with a laser level or string line.
Exact depths depend on your soil and surface. In southern Illinois, clay soils hold water and expand with moisture, so a thicker, well-compacted aggregate base and reliable drainage are especially important. Have a local geotechnical or site contractor confirm subgrade conditions before you pour.
Compaction and Tolerance Checkpoints
Use measurable checkpoints to verify compaction:
- Subgrade: proof-roll or compact until the surface is firm and uniform, with no soft spots underfoot.
- Aggregate lifts: compact each 2- to 3-inch lift before adding the next; do not compact a single thick layer at once.
- Slope: verify a consistent 1% slope (about 1/4 inch per 10 feet) across the court and confirm water flows toward your drainage outlet.
- Flatness: check the finished base with a 10-foot straightedge; gaps under the straightedge should be minimal and consistent, not localized dips.
- Drainage test: run water on the base and confirm it moves off the court rather than pooling.
Document these checks with photos and notes. If you hire a contractor, ask for the compaction and grade results before the surface is poured.
Drainage Considerations for Your Court Location
Water drainage determines whether your court stays playable after rain. Poor drainage leads to standing water, algae growth, and surface damage, and Carbondale's spring and fall rains require solid drainage planning.
Create a slight slope away from the court.
For facilities in areas with heavy rainfall, consider a subsurface drain system: perforated pipe buried beneath the base layer collects water and directs it away, preventing pooling that weakens the base.
Pickleball Court Surface Options and Installation
Your surface choice affects court speed, player safety, and maintenance needs. The two main options are concrete and asphalt. Each has different costs, durability, and performance characteristics.
Concrete vs. Asphalt Comparison
| Factor | Concrete | Asphalt |
|---|---|---|
| Durability | 15-20 years | 10-15 years |
| Initial cost | Higher | Lower |
| Maintenance | Occasional sealing | Regular seal coating |
| Player comfort | Harder surface | Slightly more forgiving |
| Weather resistance | Excellent | Requires frequent maintenance |
| Repair difficulty | Harder to patch | Easier to repair |
Concrete provides a long-lasting, low-maintenance surface that withstands weather and heavy use. Concrete courts play faster with consistent ball bounce; the initial investment is higher, but minimal maintenance lowers long-term cost.
Asphalt costs less upfront but requires seal coating every 2-3 years. It softens in extreme heat, can crack in freeze-thaw cycles, plays slightly slower than concrete, and is easier to repair.
Gared Outdoor In-Ground Pickleball System →
For facilities in Carbondale that host regular play, concrete is often the better choice. The durability and low maintenance offset the higher initial cost.
Court Coating, Paint, and Line Marking
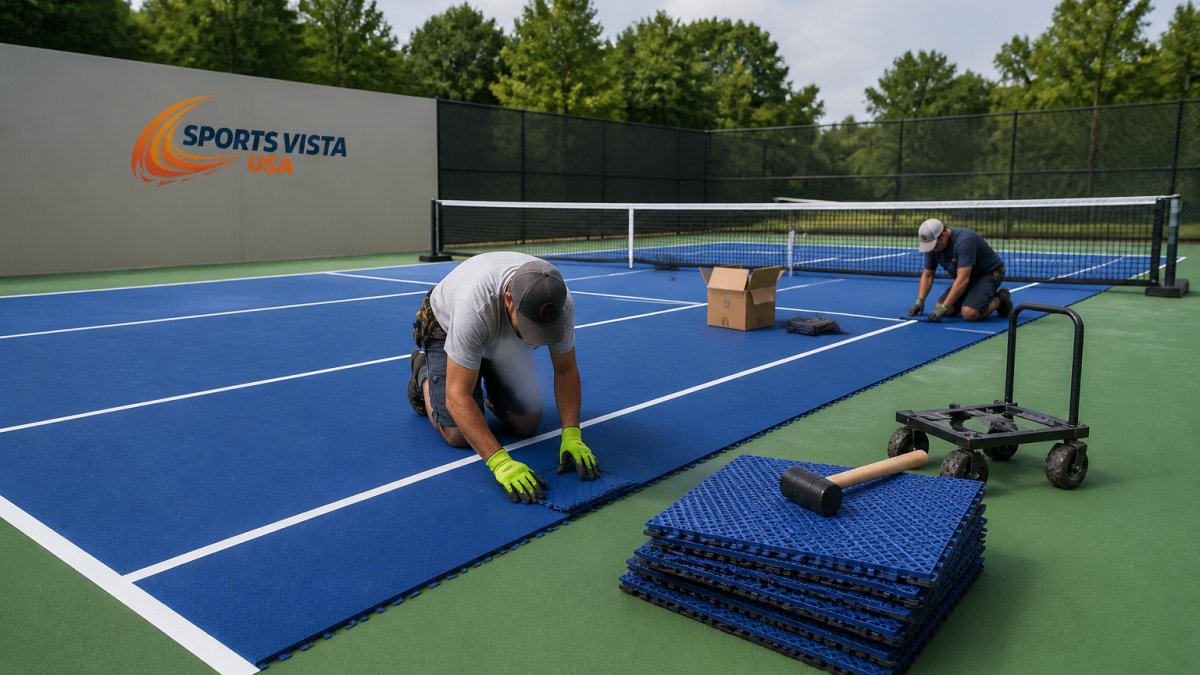
Once your base is ready, apply a court coating system. This layer protects the surface, provides the playing characteristics you want, and makes line marking possible.
Coating application process:
- Clean the base surface thoroughly
- Apply a primer coat if required by the coating system
- Apply the base color coat (typically green or blue)
- Allow proper curing time between coats
- Apply line paint or tape for court boundaries and zones
- Apply a protective topcoat if recommended
Most court coatings cure for 48-72 hours before play. Rushing this step damages the surface. Follow the manufacturer's curing instructions exactly.
For line marking, use contrasting paint colors. White lines on a green or blue surface are standard. Measure carefully and use a straightedge to ensure straight, crisp lines.
Installing Your Net System and Court Equipment
The net system is the final major component. Your choice between in-ground and portable systems affects installation complexity and long-term flexibility.
In-Ground vs. Portable Net Systems
In-ground systems feature posts that install permanently into concrete sleeves and remain in place year-round.

The Dominator Heavy-Duty In-Ground Pickleball System is built from rust-proof aluminum with stainless-steel hardware. It meets USA Pickleball regulation standards and includes removable in-ground sleeves.
Installation requires:
- Digging post holes at the correct distance (typically 22 feet apart for regulation courts)
- Setting sleeves in concrete footings
- Installing posts into sleeves
- Attaching the net to posts using the included system
- Adjusting net tension for proper height (34 inches at the center)
Portable systems are faster to set up and remove, ideal for Carbondale parks or recreation centers that use courts for different purposes.
Pickleball Court Lighting for Year-Round Play
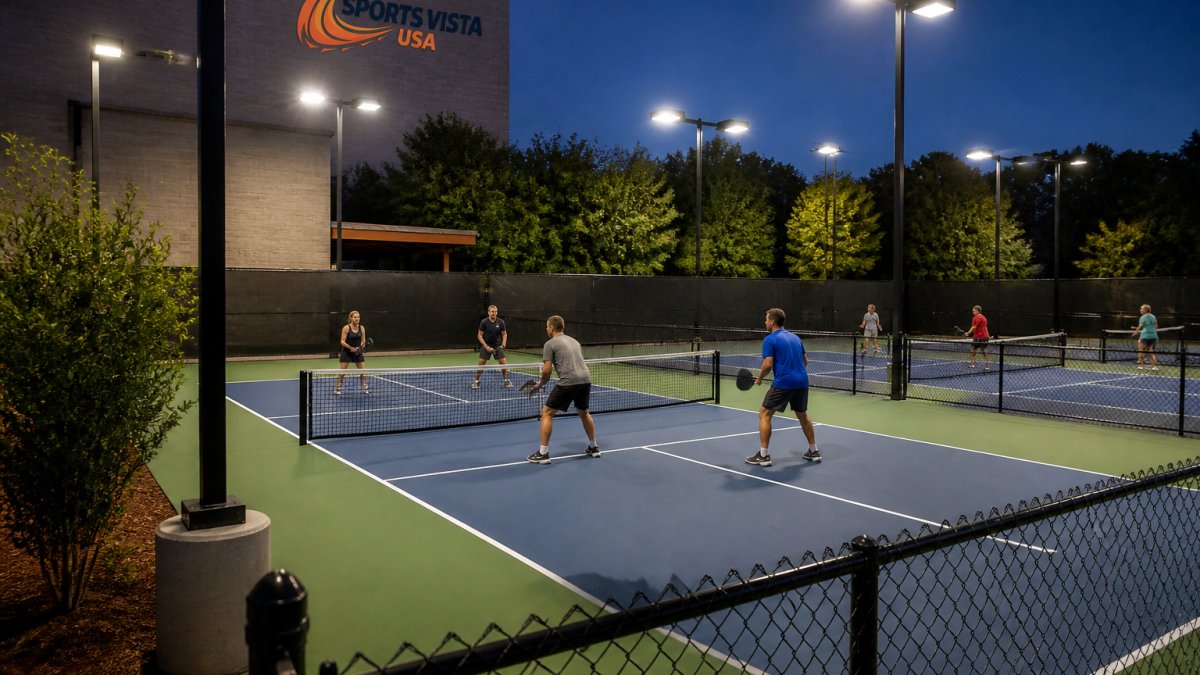
Outdoor lighting extends your court's usable hours. Evening play requires proper illumination for safety and visibility. The right lighting system balances brightness, cost, and glare control.
Lighting considerations:
- Aim for 30-50 foot-candles of light on the playing surface
- Position lights to minimize glare in players' eyes
- Use LED fixtures for efficiency and long life
- Plan for even distribution across the entire court
- Consider neighboring properties and light spillover
LED lighting is now standard for outdoor courts, using less energy and lasting longer than older systems. Most facilities install 4-6 fixtures around the court perimeter.
Proper placement prevents shadows. Fixtures mounted too low create shadows from the net; higher mounting (20-30 feet) distributes light more evenly.
Final Steps and Maintenance Planning
Before opening your court to regular use, do a final inspection: confirm lines are clear, the net is at proper height, and the surface is clean.
Pre-use checklist:
- Verify net height at center (34 inches for pickleball) and at the posts
- Check that all lines are visible and properly marked
- Inspect the surface for debris, cracks, or low spots
- Test drainage by running water on the court and confirming it flows off
- Confirm lighting works if you installed it
- Check that fencing or barriers are secure
- Confirm posts are stable and net tension is even
Surface-Specific Maintenance Schedules
Maintenance needs differ by surface. Build a schedule around your surface type rather than a single generic routine.
| Task | Concrete Court | Asphalt Court |
|---|---|---|
| Sweep debris | Weekly | Weekly |
| Inspect for cracks | Quarterly | Monthly |
| Clean net and posts | Monthly | Monthly |
| Seal or re-coat | Reseal every 2-3 years | Seal coat every 2-3 years |
| Line touch-up | As needed | As needed |
| Drainage check | Before and after rainy season | Before and after rainy season |
Concrete is durable but can crack at joints or edges; catch small cracks early and follow the coating manufacturer's repair guidance. Asphalt softens in heat and is more vulnerable to freeze-thaw damage, so inspect it more often and keep up with seal coating. For both, keep the court free of leaves and dirt that trap moisture.
Seasonal Care in Southern Illinois
Carbondale's freeze-thaw cycles are hard on outdoor courts: water seeping into small cracks expands when it freezes and widens the damage. Before winter:
- Clear debris from the surface and drainage paths
- Check that water drains away from the court and not toward it
- Inspect and repair small cracks before they freeze
- Remove or secure portable nets and equipment
After winter, inspect the surface, lines, and net system before resuming play. Document inspections and repairs so you can spot recurring issues.
When to Call a Professional
Some maintenance is DIY-friendly: sweeping, cleaning, and checking net height. Structural issues, widespread cracking, settling, failed drainage, or coating delamination, are best handled by a qualified contractor with outdoor sport court experience and references for similar projects.
Frequently Asked Questions
How much room do you need for an outdoor pickleball court?
A regulation pickleball court is 20 feet wide by 44 feet long. For comfortable play with room to move and retrieve balls, plan for a minimum 30-foot by 60-foot playing area. This allows adequate space around the court boundaries. Larger facilities often allocate 40 feet by 64 feet or more to accommodate spectators, storage, or future expansion.
What is the best surface for an outdoor pickleball court?
Concrete and asphalt are the two primary options. Concrete offers superior durability, lower maintenance, and longer lifespan (15-20 years or more) but requires higher upfront investment. Asphalt costs less initially but requires regular sealing and resurfacing every 5-7 years. Both must be properly sloped for drainage and finished with court-specific coatings to meet regulation standards and control ball speed.
Do you need a permit to put a pickleball court in your backyard?
Permit requirements vary by location and depend on court size, installation type, and local zoning regulations. Check with your local building department or code enforcement office before starting construction. Some areas require permits for permanent structures, grading, or drainage modifications, while portable courts may have fewer restrictions. Contact your municipality early to understand what approvals are needed.
How do you keep water from pooling on a pickleball court?
Proper site preparation and surface slope are essential. The court should slope slightly (typically 1% grade) toward drainage areas to direct water away from the playing surface. Ensure the ground is leveled correctly before pouring concrete or laying asphalt. Install drainage systems if your site has poor natural drainage. Court coatings should also be applied to a surface that allows water to run off rather than pool.


Leave a comment
This site is protected by hCaptcha and the hCaptcha Privacy Policy and Terms of Service apply.