

Table of Contents
- Why Basketball Court Lighting Maintenance Matters
- Basketball Court Lighting Inspection Checklist
- Cleaning and Weatherproofing Your Court Lights
- Best Practices for Athletic Facility Lighting Maintenance
- LED Basketball Court Light Replacement and Troubleshooting
- Solar-Powered Lighting: Low-Maintenance Alternatives
- Frequently Asked Questions
Last Updated: September 22, 2026
Why Basketball Court Lighting Maintenance Matters
Learning how to maintain basketball court lighting is not optional, it's essential for safety, performance, and longevity. Neglected fixtures degrade quickly, creating dark spots that affect gameplay and pose tripping hazards. How to maintain basketball court lighting directly impacts both player experience and equipment lifespan.

Basketball Court Lighting Inspection Checklist
Establish a routine: monthly checks during peak use, quarterly during off-season. Document findings to spot patterns and plan ahead.
Visual Inspection Steps
Look for these common issues:
- Cracked or cloudy lens covers that reduce light output
- Visible corrosion on aluminum posts or fixtures
- Loose mounting bolts or brackets
- Burned-out bulbs or LED modules that create dark zones
- Water pooling inside fixture housings
- Rust spots on metal components, especially near welds
- Cables or conduit that show wear, cracks, or exposed wiring
- Fixtures tilted or misaligned from their original angle
Take photos of damage to create a record. Check all four corners and center area; lighting should be even across the entire surface.
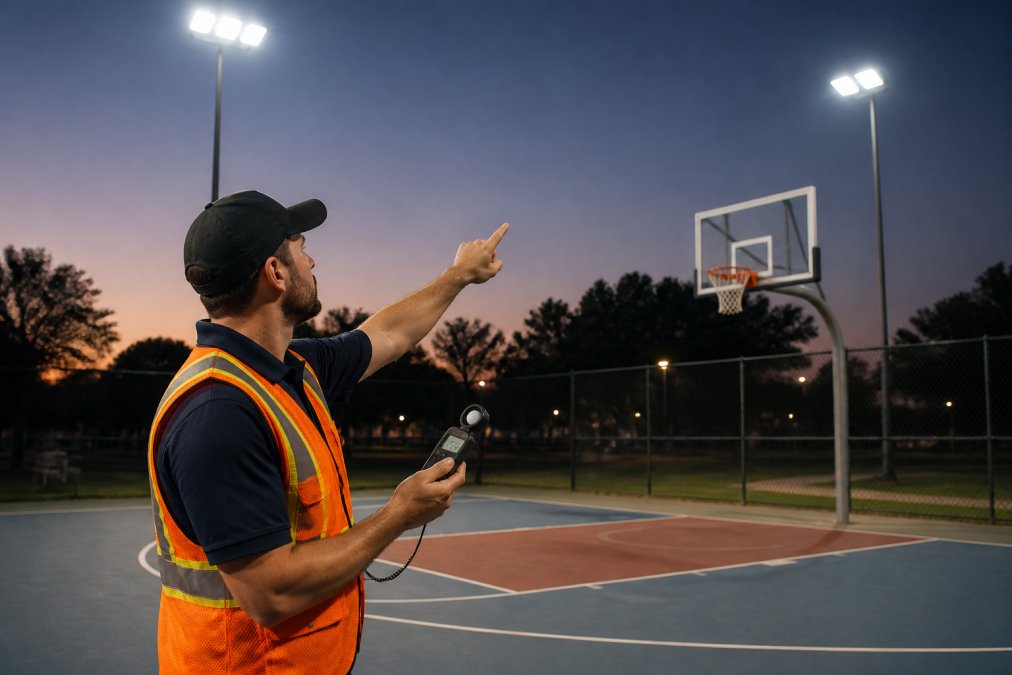
Measuring Light Output and Uniformity
Uniformity ratio (brightest to dimmest) should stay below 4:1.
Track measurements over time. A 20%+ drop from baseline signals aging fixtures; plan replacement.
Cleaning and Weatherproofing Your Court Lights
Dirt and debris reduce light output by 10-20%. Regular cleaning is simple and delivers immediate results.
Steps for safe cleaning:
- Turn off power at the circuit breaker before working on fixtures
- Wait 10 minutes for bulbs or LED modules to cool
- Use a soft, lint-free cloth with warm water and mild soap
- Gently wipe lens covers, being careful not to press hard (tempered glass can crack under pressure)
- For stubborn buildup, use a soft brush or compressed air
- Dry completely before restoring power
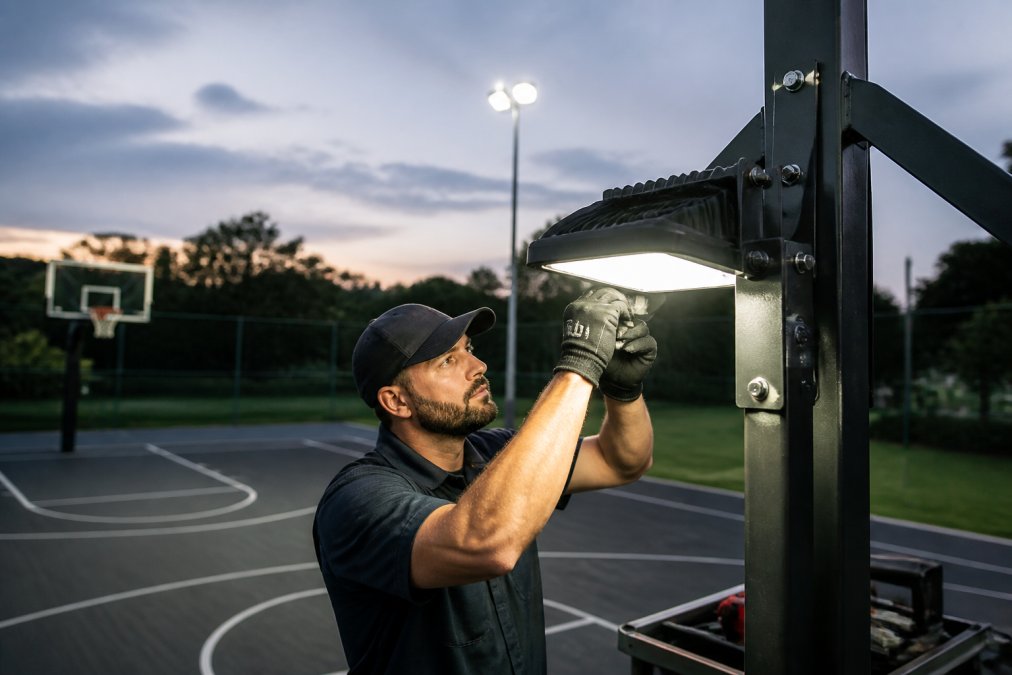
- Check mounting bolts while you're up there, tighten any that have loosened
Weatherproofing checks:
- Inspect gaskets and seals around lens covers for cracks or deterioration
- Look for water inside the fixture housing (a sign seals are failing)
- Check that drain holes at the bottom of fixtures are clear
- Apply a thin coat of silicone-based sealant to any gaps where water might enter
Best Practices for Athletic Facility Lighting Maintenance
Successful maintenance requires both routine care and strategic planning. The facilities that keep their courts in best condition follow a structured approach.
Seasonal Maintenance Schedules
Spring: Inspect for winter damage, clean fixtures, tighten hardware, test light output, trim branches.
Electrical Safety and Surge Protection
Surge protection is essential for outdoor basketball courts; systems are vulnerable to lightning, grid fluctuations, and equipment failures.
LED Basketball Court Light Replacement and Troubleshooting
LED fixtures are efficient, durable, and produce excellent light quality. Know when to replace them and which problems you can safely diagnose versus those requiring a licensed electrician.
When to Replace Fixtures
LED fixtures are efficient, durable, and produce excellent light quality.
Replace fixtures when:
- Light output drops below 70% of original (measured with a light meter). This indicates the LED array is aging and efficiency is declining.
- More than 30% of the fixture array is non-functional. If individual LED modules are burning out, the fixture's power distribution or thermal management is failing.
- Lens covers are cracked or cloudy beyond cleaning. Cracks allow water entry; cloudy covers reduce light transmission. Replacement restores output and weatherproofing.
- Weatherproofing has failed and water is entering the housing. This creates electrical hazards and accelerates internal corrosion. The fixture must be replaced; repair is not safe.
- Corrosion is visible on internal components. If you can see rust or oxidation inside the fixture, the structure is compromised. Replacement is necessary.
- The fixture is 15+ years old and maintenance costs are rising. Older fixtures fail more frequently.
DIY Diagnostics vs. Professional Repair
Understanding which issues you can safely troubleshoot saves time and money. Any repair involving electrical connections, wiring, or power circuits requires a licensed electrician.
What you can safely do yourself:
- Visual inspection for physical damage (cracks, corrosion, loose bolts)
- Cleaning lens covers and fixture housings
- Checking that mounting bolts are tight
- Measuring light output with a light meter
- Removing debris or ice from fixtures
- Inspecting gaskets and seals for visible deterioration
- Resetting circuit breakers if a fixture goes dark
What requires a licensed electrician:
- Any repair involving electrical connections, terminals, or wiring
- Troubleshooting flickering or dimming that persists after visual inspection
- Replacing internal LED modules or driver circuits
- Repairing surge protection systems
- Inspecting grounding and bonding
- Any work inside the fixture housing where electrical components are exposed
- Troubleshooting a circuit breaker that trips repeatedly
Common Lighting Failures and Diagnostic Guide
Dim output across all fixtures:
Root cause: Aging LED arrays or dirty lenses.
Diagnostic steps:
- Clean all fixtures thoroughly.
- Measure foot-candles 24 hours after cleaning.
- If output is still below baseline, the LED array is aging.
Next step: If below target, replacement is justified.
First Team - Solar Powered Court Light →
Dark spots or one fixture much dimmer than others:
Root cause: Debris on lens or internal LED module failure.
Diagnostic steps:
- Clean the lens thoroughly.
- Measure output from that fixture.
- If still lower than adjacent fixtures, the LED module is failing.
Flickering lights:
Root cause: Loose connections, failing driver, or power instability.
Diagnostic steps:
- Turn off power at the breaker.
- Wait 10 minutes.
- Tighten all visible bolts on the mounting bracket.
- Restore power and check if flickering stopped.
- If it continues, inspect the electrical connector for corrosion or moisture. Do not clean corrosion yourself, contact an electrician.
No light from one fixture:
Diagnostic steps:
- Check if the breaker has tripped (switch in middle or OFF).
- If tripped, reset by switching fully OFF, then ON.
- If it lights up, monitor the breaker. If it trips again within a week, contact an electrician.
- If breaker doesn't trip but fixture stays dark, the LED module or driver has failed; replacement needed.
Uneven light distribution (bright center, dark edges):
Diagnostic steps:
- Compare the angle of the problem fixture to adjacent ones.
- Check that all mounting bolts are tight.
- Tighten any loose bolts and remeasure distribution.
- If still misaligned with tight bolts, the bracket may be bent.
Water inside the fixture:
Diagnostic steps:
- Turn off power immediately.
- Allow fixture to dry (24-48 hours in dry conditions).
- Inspect lens for cracks; if cracked, replace fixture.
- If lens is intact, inspect gaskets and sealant for gaps or deterioration.
Circuit breaker trips repeatedly:
Diagnostic steps:
- Turn off the breaker and leave it OFF.
- Reset once. If it trips immediately, there is a fault.
Replacement Decision Tree
Use this framework to decide whether to repair or replace a fixture:
- Is the fixture 15+ years old? → Replace. Older fixtures fail more frequently and repair costs rise.
- Is water inside the fixture? → Replace. Weatherproofing has failed; repair is not safe.
- Is the lens cover cracked? → Replace. Cracks allow water entry and reduce light output.
- Is light output below 70% of original? → Replace. Aging fixtures will continue to degrade.
- Are more than 30% of LED modules non-functional? → Replace. Internal failure indicates systemic problem.
- Is the problem a loose bolt or dirty lens? → Repair. Tighten or clean and monitor.
- Is the problem flickering or dimming after cleaning and tightening? → Contact electrician. Internal failure likely; replacement may be necessary.
Planning Fixture Replacement
For facilities managing multiple courts, develop a replacement schedule based on fixture age and condition:
- Years 1-10: Routine maintenance only. Expect minimal failures.
- Years 10-15: Increase inspection frequency to quarterly. Plan for 5-10% of fixtures to fail or require replacement.
- Years 15+: Budget for significant replacement. Failure rates accelerate. Consider replacing all fixtures rather than individual units.
Solar-Powered Lighting: Low-Maintenance Alternatives
Solar-powered fixtures eliminate electrical installation and reduce maintenance complexity. They're valuable for remote locations or where trenching is impractical.
Maintenance for solar fixtures:
- Clean solar panels monthly (same method as lens covers)
- Inspect battery connections annually for corrosion
- Check motion sensors and timers
- Verify direct sunlight during charging hours
- Monitor battery charge in winter
Frequently Asked Questions
How often should I inspect outdoor basketball court lights?
Inspect your basketball court lighting at least monthly during the playing season and quarterly during off-season months. After severe weather events, high winds, storms, or heavy snow, perform an immediate visual check for damage. Regular inspections catch corrosion, loose connections, and reduced light output before they become safety hazards. Document findings in a maintenance log to track patterns and plan replacements.
What are the common signs of basketball court lighting failure?
Watch for flickering, dimming, or complete outages in one or more fixtures. Uneven light distribution across the court, dark corners, or excessive glare are also warning signs. Physical damage like cracked lenses, rust on poles, or water intrusion in fixture housings indicates weatherproofing failure. If you notice these issues, check electrical connections and surge protection devices first, then assess whether LED bulbs or entire fixtures need replacement.
Can I replace basketball court LED bulbs myself, or do I need a professional?
Simple LED bulb replacement can be a DIY task if you follow electrical safety protocols: turn off power at the breaker, use proper ladders or lifts, and wear gloves to avoid damaging the bulb. However, if you're uncomfortable working at height, dealing with electrical connections, or your fixture requires specialized tools, hire a licensed electrician. Professional maintenance ensures compliance with electrical codes and reduces injury risk.
How does weather impact basketball court lighting maintenance?
Moisture, temperature swings, UV exposure, and corrosive air accelerate degradation of fixtures, wiring, and mounting hardware. Regular cleaning removes salt spray and debris that cause corrosion. Check seals and weatherproofing annually to prevent water intrusion. In regions with harsh winters, inspect poles and connections after freeze-thaw cycles. Solar-powered lights like the Dominator 100W LED Solar Court Light with Pole are engineered with weatherproof construction to withstand these conditions with minimal maintenance.


Leave a comment
This site is protected by hCaptcha and the hCaptcha Privacy Policy and Terms of Service apply.